

- Home
- Products
- HOT
- Technology
- Service
- Resources
- About
- Contact
- All
- Product Name
- Product Keyword
- Product Model
- Product Summary
- Product Description
- Multi Field Search

Views: 0 Author: Site Editor Publish Time: 2026-08-13 Origin: Site


A common anatomical reality for many players is that head circumference does not always correlate with face length. This mismatch frequently leads to a poor fit when relying on stock helmet-and-cage combinations straight off the shelf. Wearing a cage that is too large severely compromises impact protection, shifts the chin cup into unsafe positions, and obstructs the visual field. Conversely, forcing a smaller helmet onto a larger head to accommodate a shorter face causes cranial pressure, headaches, and inadequate skull coverage.
Fortunately, mixing equipment sizes offers a practical workaround. Mounting a smaller cage on a larger helmet is technically feasible and widely practiced by equipment managers. By understanding the criteria for evaluating safety, hardware compatibility, and certification compliance, players can customize their headgear to achieve optimal protection and comfort without compromising structural integrity.
Size Mixing is Viable: It is generally acceptable and common practice to use a cage one size smaller than the helmet (e.g., a Medium cage on a Large helmet) provided the mounting hardware aligns.
The Chin Cup Dictates Fit: The primary success metric for cage sizing is the chin cup resting snugly against the chin without restricting jaw movement or floating freely.
Hardware Alignment is Non-Negotiable: J-clips and top hinges must engage securely; forcing a smaller cage onto a wider helmet can warp the wire and void safety certifications.
J-Clip Repositioning is Required: Downsizing a cage usually requires physically unscrewing and raising the J-clips on the helmet temple to safely meet the shorter wire frame.
Cross-Brand Variability: While many ice hockey cages are marketed as universal, cross-brand combinations introduce higher implementation risks regarding clip alignment and shell width.
The primary anatomical mismatch requiring a downsized cage involves a wide cranium paired with a short facial profile. A successful fit in this scenario requires zero compromise on facial protection or peripheral vision. When evaluating different ice hockey cages, you must understand how these components scale across different sizes. Cage dimensions primarily scale in length—measuring from the forehead down to the chin—rather than expanding significantly in width. This means a medium cage is noticeably shorter than a large cage, but only marginally narrower.
Wire cages offer a distinct structural flexibility compared to rigid plastic shields. This flexibility allows the metal frame to flex slightly outward when mounting to wider helmets. You can physically pull the sides of the cage apart a fraction of an inch to line up with the mounting holes on a larger shell. However, this adaptability has strict limits. A major risk during installation is the "temple pinch." When a significantly smaller cage is forced onto a larger helmet, the tension pulls the sides of the helmet shell inward. This narrows the internal fit, creating severe pressure points and temple pain during play. If you have to use excessive force to spread the cage wide enough to fit the helmet, the size discrepancy is too large.
Implementation risks escalate if the equipment is mismatched too drastically. Over-stretching a small cage stresses the top hinge screws and bends the wire out of its engineered shape. This deformation weakens the structural integrity of the cage, making it susceptible to failure under high-velocity impacts from pucks or sticks. The metal bars are welded to withstand force from specific angles; altering the geometry of the cage compromises those welds.
Cage Sizing Dimension | Scaling Characteristics | Impact on Fit When Downsizing |
|---|---|---|
Length (Forehead to Chin) | Scales significantly between sizes (approx. 0.5 to 1 inch per size). | Raises the chin cup to properly meet a shorter jawline. Improves sightlines. |
Width (Temple to Temple) | Scales minimally between sizes (approx. 0.1 to 0.25 inches per size). | Requires slight outward flexing of the wire. Can cause temple pinch if over-stretched. |
Dome Curvature | Varies by brand, generally follows shell size. | May cause gaps at the forehead or require top hinge adjustments. |
Equipment managers often deal with players who have wide heads but shorter faces. The standard protocol is to start with the helmet shell. You must fit the helmet to the skull first, ignoring the face protection entirely. Once the helmet is locked in, comfortable, and provides proper coverage over the occipital bone and temples, you then measure the face to determine the cage size. If the player measures for a medium face but a large head, you pull a medium cage and begin the alignment process.
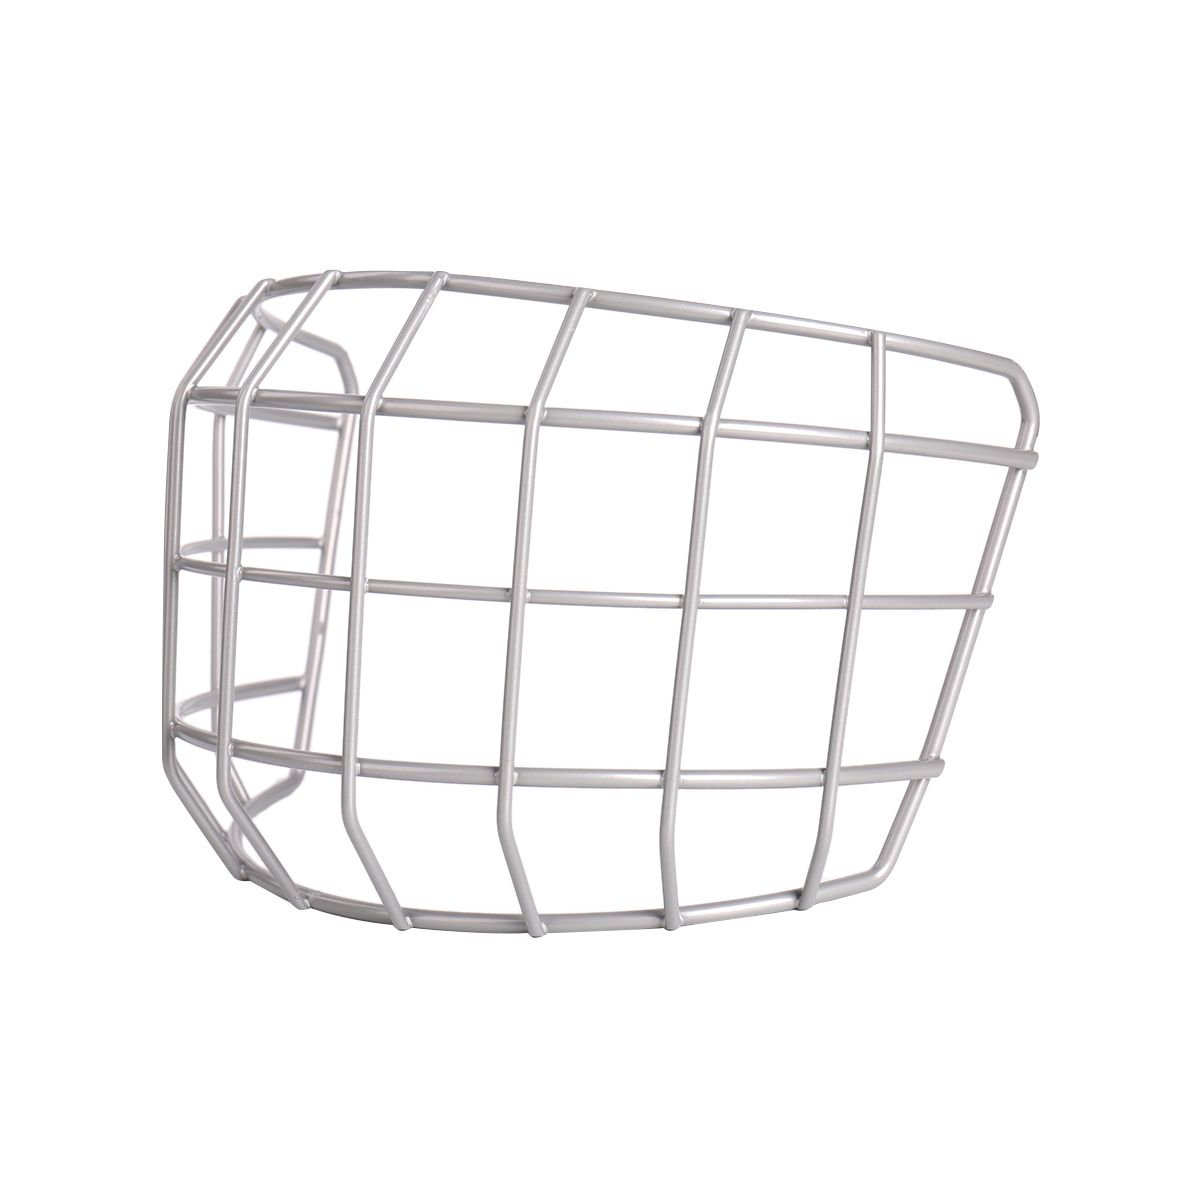
Impact dispersion relies entirely on proper component alignment. A properly fitted chin cup transfers the force of a frontal impact safely into the cage and the helmet shell, dissipating the energy away from the face and neck. If a cage is too large, the chin cup floats freely below the jaw. Upon impact, a floating chin cup fails to absorb energy. Instead, the force drives the metal cage directly into the jaw, teeth, or nose before the chin cup ever makes contact. This defeats the entire purpose of wearing full facial protection.
J-clips play a mandatory role in this safety ecosystem. These small plastic brackets mounted on the temples prevent the cage from smashing into the face upon frontal impact. They act as the primary stopping mechanism. When downsizing, a smaller cage might fail to slot into the J-clips of a larger helmet because the wire frame is shorter. If the wire does not rest securely inside these safety channels, the cage is rendered useless against direct blows. Adjusting the J-clip height is a mechanical necessity to ensure the shorter wire frame engages properly. You will need a Phillips head screwdriver to loosen the J-clip screws, slide the clips up the temple channel, and lock them back down at the exact height where the cage wire naturally rests.
Modifying hardware to force a fit carries severe compliance risks. Drilling new holes into the helmet shell, removing J-clips entirely, or bending the wire excessively instantly voids HECC (Hockey Equipment Certification Council) and CSA certifications. Playing with uncertified or illegally modified headgear renders the helmet unsafe and strictly prohibited in sanctioned league play. Referees and league officials are trained to look for missing J-clips or altered hardware. If your setup fails inspection, you will be removed from the ice.
Furthermore, the top hinges must be evaluated. The two screws at the forehead secure the cage to the helmet. When mixing sizes, the curvature of the smaller cage might not perfectly match the curvature of the larger helmet dome. This can create a gap or cause the cage to bind when opening and closing. The cage must pivot smoothly. If it grinds against the helmet shell or requires force to pull down, the mounting points are under constant stress, which can lead to screw failure during a collision.
When stepping down a size, staying within the same brand ecosystem yields the highest success rate. The "one size down" rule—such as mounting a medium Bauer cage on a large Bauer helmet—benefits from standardized screw patterns and matching dome shapes. Manufacturers design their cages to align with the specific temple channels and forehead curves of their own helmet lines. This internal consistency means the J-clips and top hinges will almost always line up, even when mixing adjacent sizes.
Cross-brand mixing introduces significant friction points. Pairing a CCM cage with a Warrior helmet, for example, requires careful evaluation. Differing helmet shapes, temple widths, and screw alignments often prevent secure hardware engagement. A cage designed for a narrow, oval-shaped helmet will struggle to fit over a wider, rounder helmet shell. The J-clip channels might be positioned too far forward or backward, making it impossible to secure the side wires regardless of how you adjust the clips.
Specific use cases require careful evaluation, particularly when utilizing an XS Ice Hockey Cage. These extremely small cages are typically designed for youth players transitioning to junior helmets or adults with exceptionally short facial profiles. Attempting to mount an extra-small cage onto an adult medium or large helmet exposes extreme width limitations. The width discrepancy between an XS cage and a Large helmet is too vast to overcome with simple wire flexing. Forcing this combination almost always results in severe wire deformation, broken top hinges, and compromised safety. If a player truly needs an XS cage, they generally need a smaller helmet shell to match.
Players must weigh the overall value and safety factors when purchasing gear. Pre-assembled combos are cost-effective but lock the user into rigid, uniform sizing. If you buy a Large combo, you get a Large helmet and a Large cage. Purchasing the helmet and Ice Hockey Cages separately requires a higher upfront investment but delivers optimized fit, superior safety, and the ability to personalize the setup to exact facial dimensions. For players with non-standard head-to-face ratios, buying separate components is the only way to achieve proper protection.
Adjusting the Helmet Shell First: Fully adjust the length and width of the helmet to fit your skull perfectly before mounting or evaluating the cage fit. Open all tool-less adjustment flaps, expand the helmet, place it on your head, and compress it until it sits snugly around your temples and occipital bone. Lock the flaps. The helmet must sit securely on the head without shifting side-to-side or front-to-back.
Securing the Top Screws and Hinges: Mount the top clips loosely at first. Align the cage with the forehead screw holes. Tighten the screws just enough to hold the cage, then test the pivot. The cage should pivot smoothly on its hinges without requiring excessive physical force to pull it down over the face. If you have to fight the wire to close it, the width mismatch is too great.
Adjusting and Checking J-Clip Engagement: Unscrew, raise, and reposition the J-clips on the helmet sides so they align perfectly with the shorter wire bars of the downsized cage. The cage must slide smoothly into the J-clip channels when closed. Ensure the screws are tightened down completely once the correct height is found. The wire should rest at the bottom of the J-clip hook.
Assessing the Chin Cup Pressure: With the helmet strapped tightly, open your mouth slightly—about a finger's width. The chin cup should maintain contact without slipping off, floating, or choking the throat. It should feel snug but not restrictive. If the chin cup hangs below your chin, the cage is still too large. If it jams into your lower lip, the cage is too small.
Visual Field and Peripheral Interference: Check your sightlines in a hockey stance. Bend your knees and look forward as if tracking a puck. Ensure the horizontal bars of the smaller cage do not sit directly in your primary line of sight. Poorly aligned bars cause blind spots and restrict downward puck tracking. You should be able to see the ice near your skates without dropping your head completely.
If mixing sizes causes hardware misalignment or temple pinch, alternative face protection may resolve the issue. Hybrid shields, which feature a half-visor and half-cage design, offer excellent visibility for players struggling with wire placement. However, unlike wire cages, hybrid shields utilize rigid plastic construction. They cannot be stretched, flexed, or downsized safely to fit wider helmets. The plastic mounting ears will crack if forced onto a shell that is too wide. If you choose a hybrid shield, you must ensure the shield size matches the helmet size exactly.
Adjustable cages are another alternative, offering micro-adjustments in length through sliding chin-cup systems without changing the overall frame size. These cages feature a track system that allows you to move the chin cup up or down independently of the wire frame. This is an excellent solution for players who need the width of a large cage but the length of a medium cage. It eliminates the need to stretch a smaller frame over a larger helmet.
Before swapping out face protection, ensure the helmet shell is properly configured. Fully open the helmet's tool-less adjustment systems and reposition the shell. Sometimes, a helmet sitting too far back on the occipital bone artificially raises the cage, making it feel too short. Conversely, a helmet tilted too far forward will make the cage hang too low. Correcting the helmet posture often resolves perceived sizing issues without requiring new hardware. Ensure the front rim of the helmet sits approximately one finger-width above your eyebrows.
Measure your face length from your hairline to the tip of your chin to determine your true cage size independently of your helmet size.
Inspect your current helmet to ensure the J-clips are adjustable and the top hinge screws are in good condition before attempting to mount a new cage.
Test the "one size down" configuration at a certified pro shop, prioritizing same-brand combinations to guarantee hardware alignment.
Perform the open-mouth chin cup test to verify impact readiness before taking the new setup onto the ice.
A: Yes, stepping down one size is generally compatible and safe, especially within the same brand. Ensure the top hinges pivot smoothly and the side wires slot securely into the J-clips without excessive stretching.
A: A proper fit requires the chin cup to rest snugly against your chin, even when your mouth is slightly open. The cage must engage the J-clips on the temples, and the wire bars should not obstruct your direct line of sight.
A: No, universal fit is a myth. While many cages can cross over, different brands feature unique dome shapes, screw alignments, and wire widths that can prevent secure hardware engagement when mixed.
A: A cage that is too large results in a floating chin cup. Upon impact, the cage will not absorb the force properly, driving the metal directly into your jaw or nose, while also restricting downward vision.
A: Extra-small cages are designed for youth players, smaller adults, or individuals with exceptionally short facial profiles. They have extreme width limitations and generally cannot be safely mounted on adult medium or large helmets.
A: Standard J-clips usually work, but they must be physically unscrewed and repositioned higher on the helmet to meet the shorter wire frame. In some extreme downsizing cases, extended clips may be necessary.
A: No. Hybrid shields feature rigid, non-flexible plastic components. Unlike wire frames, they cannot be safely flexed or stretched to accommodate the width of a larger helmet without risking catastrophic cracking upon impact.


